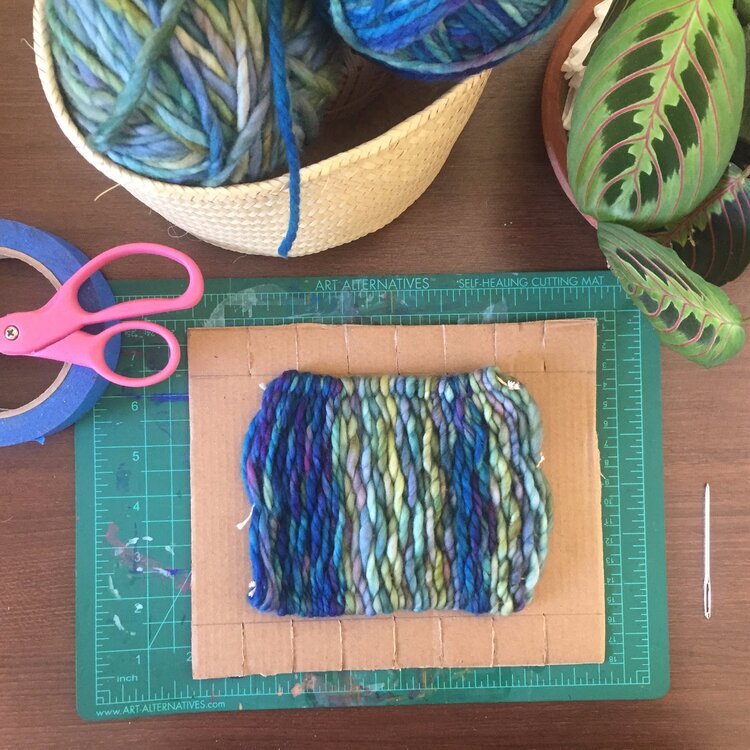
Weaving Activity
Create your very own loom and a beautiful weaving with a few simple materials!
Follow this wonderful tutorial by Ms. Grace and have fun with this truly engaging handwork project.
By Grace Rahn, Huckleberry Assistant Teacher
Introduce your children to the beauty and fun of weaving!
This simplified method makes it possible for young children to get in the rhythm of weaving and create pieces to be used in their own play and/or around the house. All you need to make a loom for this project is cardboard. Since it’s such a simple design it can be fun to play around with making a few different size looms to work with if your children are feeling inspired to keep creating weavings.
Materials
Cardboard (different sized pieces depending on how big or small you want the weaving to be. I used a 10”x8” piece)
Scissors
Tape
Pencil
Ruler
Yarn
Large needle
Start by measuring and cutting evenly spaced slits along two opposite edges.
Make sure you have an even number. The spacing amount will determine how tight the weave is and closer makes it potentially tricker for children since it becomes more intricate.
I used a one inch spacing for my loom which seemed like it would be doable for a young child to learn.
Tape the yarn on the back of the cardboard, using a different color than what you will be weaving with can make it helpful to see everything clearly. Thread the yarn down and around the front of the loom and then around to the back until all the slits are used. Cut the yarn once you reach the end and tape to the back of the other side of the loom. This is your wrap.
Cut a piece of yarn to begin weaving with, your weft, and thread your needle. Start to weave the weft under the first warp on the left and over the second warp then over and under. Pull the weft yarn all the way and leave a tail on the left a couple inches long. Loop the needle under the last warp on the right, then over and under in the opposite direction. Push the second row of weft tightly against the first.
Continue to weave back and forth in this fashion and push the rows together snuggly as needed. If you want to change colors leave a tail a couple inches long and start your new weft where you left off.
Add as many colors as you like just making sure to leave a tail at the end of each weft to be able to sew in later to secure.
Once you fill the loom, cut off the last row of weft yarn, leaving a tail. Thread the tails into the looped end of the weft.
Once all your wefts are securely looped through, turn your loom over and remove the tape. Cut the warp in the middle of each wrap and turn your loom back over. Carefully pull two adjacent warp yarns from the slits and knot them together.
Repeat with each pair of warp yarns.
You’re ready to remove your weaving from your loom!
Your child can choose how to utilize their weavings. In addition to using them for their own play and/or around the house, on nature tables etc., they can be enjoyed as woven wall hangings.
Happy weaving!


