
Seed Paper

By Dylan Wilde, Cedar Rose Pre-Kindergarten Assistant Teacher
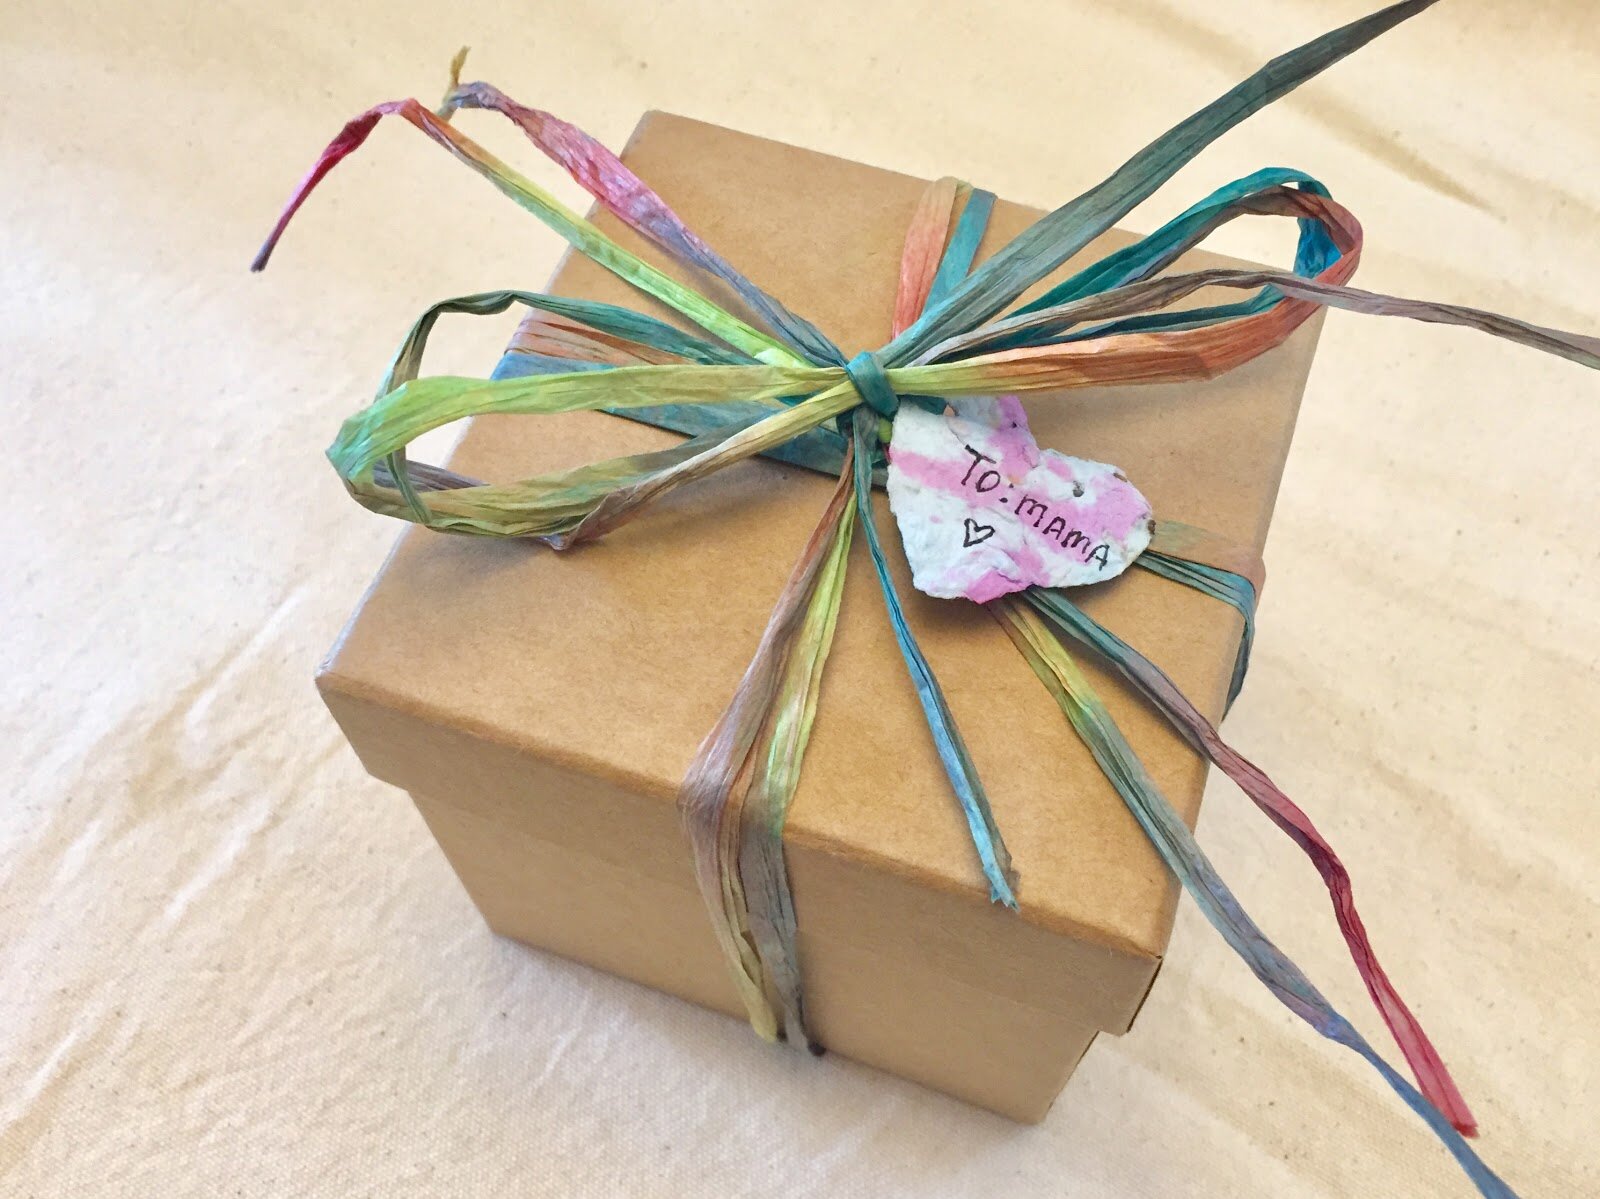
Seed paper is a fun upcycling project for kids of any age and makes a lovely gift!
You can use all one color, or mix it up for a cool marbled effect. Poke hole in a seed paper heart and use it as a gift tag, or stick one to a piece of folded cardstock for a beautiful birthday or greeting card. The possibilities are endless!
You will need:
Recycled colored paper (construction paper is great!)
Flower seeds (small seeds are best; try to avoid larger ones like sunflower seeds)
Warm water
Blender (I find that an immersion blender works best, but a regular upright blender is fine)
Fine mesh screen
Cookie cutters (optional)
Tea towels
Large heavy book
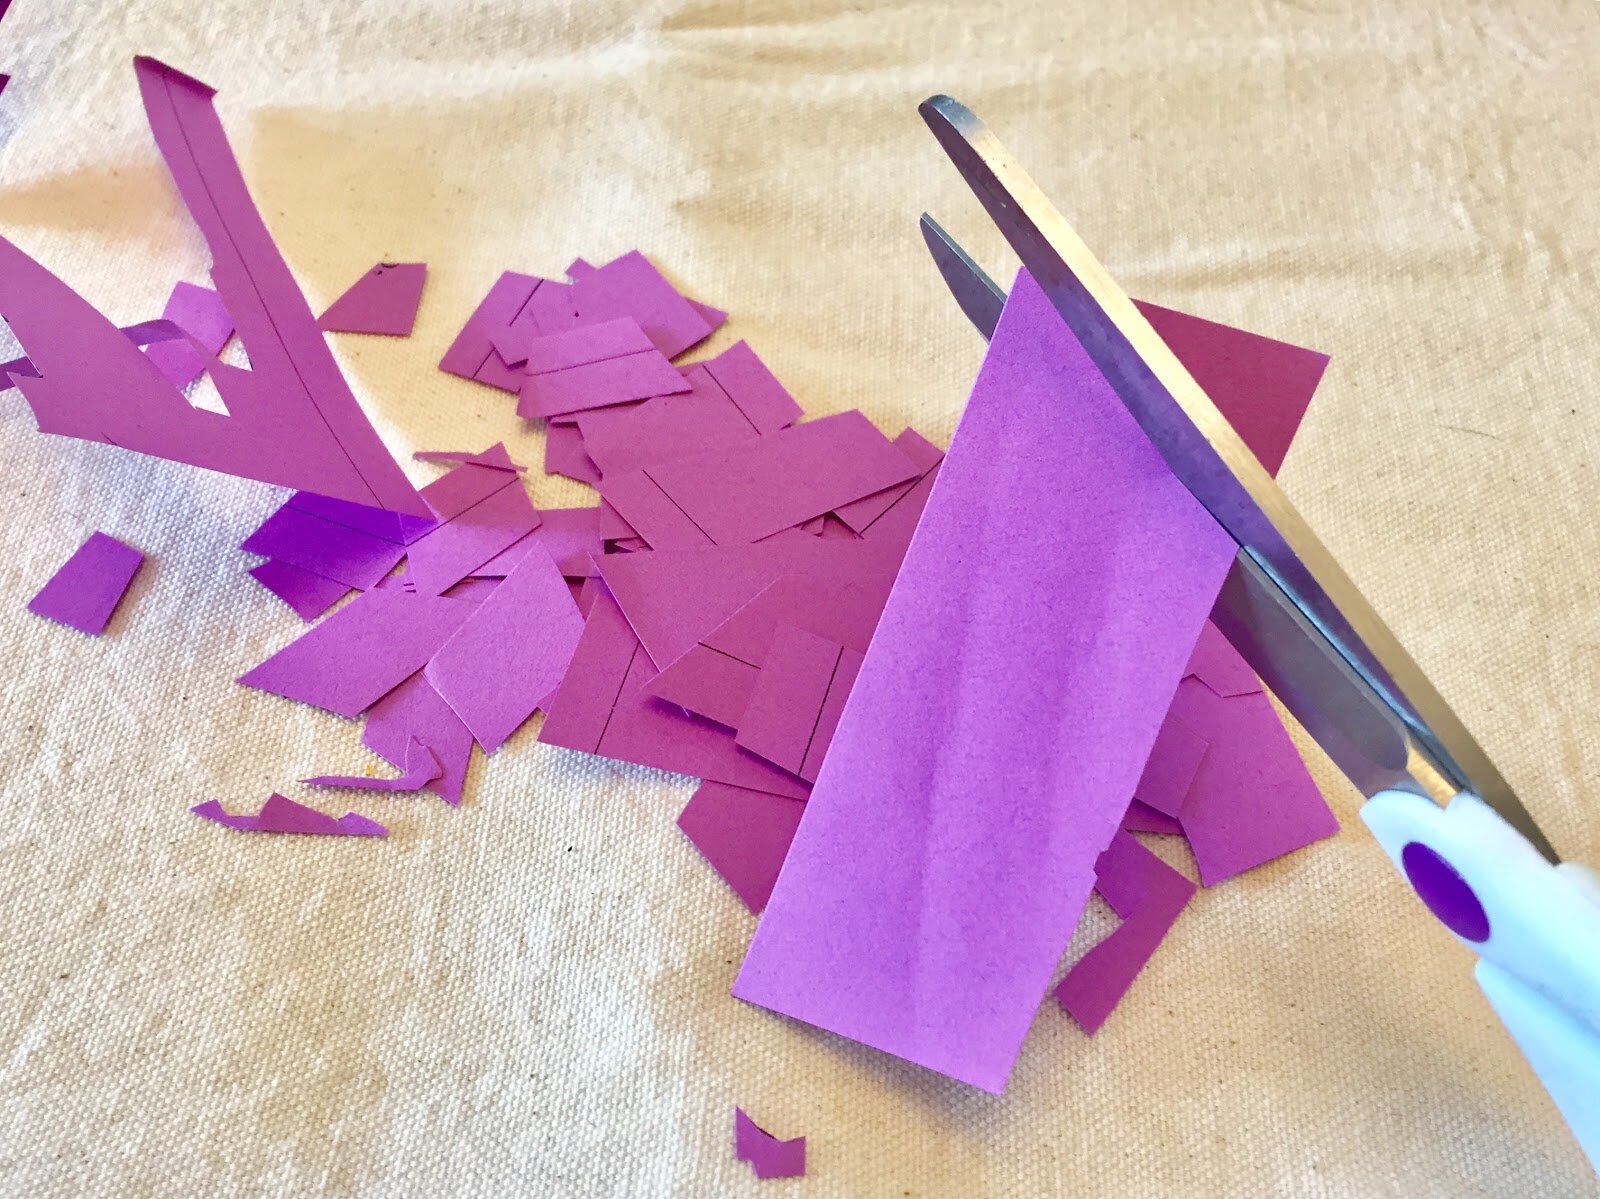
Cut or tear the paper into small pieces. This is a great opportunity for children to work on their scissor skills! Always remember to supervise young children when using scissors.

If using multiple colors, keep the colors separate, or have children separate after cutting for a sensorial sorting activity!

Put the paper bits into bowls and cover with warm water. Allow to soak for a few minutes, until soft.
Grown-up work: blend each color separately to make paper pulp. If using an immersion blender, make sure the sides of the bowls are high enough to prevent little bits of pulverized paper from flying every which way.

Now back to the kids! Sprinkle flower seeds into each bowl of paper pulp, then mix them in with your fingers.

Get another bowl and place it on your workspace, then lay the screen over it. Choose a cookie cutter and place it on top of the screen, then pick up a little bit of paper pulp mixture and plop it down into the cookie cutter. Squish the pulp down into the screen, causing the excess water to drain out into the bowl. Keep adding pulp a little at a time, squishing it down, until the cookie cutter is filled with a thin layer of pulp (around 1/8” is ideal — if it’s too thick, it’ll take a long time to dry).
If you don’t have any cookie cutters (or prefer not to use them), you can make freehand shapes or even a large sheet, which you can cut up into different shapes once it has fully dried.
Once most of the water has been squeezed out, lift away the cookie cutter and carefully peel the seed paper off of the screen (it might be best for a grown-up to do this part, as the seed paper is delicate until it’s dry). I like to give it one last squeeze between my palms to get as much water out as possible before laying it down to dry.
Line a large flat plate with a clean kitchen towel, and place your completed seed paper shape on top. If you like, you can use a think pokey instrument (like a safety pin, T-pin, or uncurled paper clip) to poke a hole in a corner of your shape while it is still damp. Then you can thread it with a ribbon or yarn once it is dry and use it as a gift tag (or even a necklace).
Continue until all the paper pulp is gone. Cover the seed paper shapes with another clean kitchen towel, and place a large heavy book on top to ensure that the shapes dry flat and don’t curl up around the edges.

Let the seed paper dry for a few hours wrapped in the towels with the large book resting on top. Once they’re mostly dry, take off the book and towels and let them dry overnight uncovered on the counter. In the morning, you’ll have beautiful homemade seed paper, ready for gifting and planting!
To plant, place seed paper in soil in a nice sunny spot and cover with about 1/8” of potting soil. Give it a good watering, and make sure the soil stays moist and in the sun.
Seeds should sprout within a week or two!